I spent 8 days in Northeast Hokkaido in January to photograph birds and wildlife in winter. If you hail from Canada, you’re probably familiar with all of the tips below already and then some. But if you’re like me and come from a country that’s mostly free of snow, the tips below should hopefully help get the logistics out of the way so you can focus on the important stuff – taking great photos.
1. Keep yourself warm
Shooting outdoors in winter often means having to hike to a spot, waiting for a sunrise/sunset to happen and staying at the same spot for hours. Your body will not generate as much as heat as if you were sightseeing or skiing, so be sure to pack on the layers. There’s no such thing as dressing too warm when you’re not active. For reference, my layers usually consist of (from inner to outer layers):
data-animation-override>
“There’s no such thing as dressing too warm.”
- The warmest base layer I can find
- A merino wool sweater
- The thickest down jacket I can find
- A merino wool buff – I use this instead of a scarf as it can cover your face as well
- A windproof and waterproof shell jacket with hood
Your hands and feet will be the first to get cold, so be sure to invest in some hand warmers to slot into your gloves, as well as foot warmers that you can stick on your socks.
2. Take care of your batteries
Lithium Ion batteries lose their ability to hold a desired voltage with lower temperatures. Don’t be surprised to see a low battery warning first thing in the morning if you’ve left your camera on the tripod. Here are some tips for taking care of your batteries:
- Remove your batteries from your camera and place them in your pocket if you are waiting for an event
- Place spare batteries in your pockets instead of your bag so they don’t get frozen
- If you get a low battery warning, replace the batteries and place them in your pocket. You’ll likely be able to use it again when it warms up.
- Stick a heat pack outside the pocket, this will create some warmth for the batteries. Be sure to not stick them inside your pocket as the heat can cause the batteries to explode!
Conditions for a hoar frost often mean temperatures of -22C (-7F). Your breath gets frozen, and so do your batteries.
3. Be careful of condensation
Moving from a cold outdoor environment to a warm indoor environment can cause condensation on or in your camera. Some people advise placing your camera gear inside a Ziplock bag before bringing it indoors, I found this too troublesome.
What I usually do is bring it indoors in my backpack and leave it in there for an hour or so. This way it cools down gradually and there is less likely to be condensation.
Another way to get around this is to just leave your camera in the car and take only the batteries and SD cards indoors, beware of security though.
4. Check your exposure regularly
Snow reflects light and can be tricky for your camera’s metering system. Be sure to check your exposure regularly to make sure that your subject is properly exposed. If you’re doing wildlife photography, I strongly recommend using Manual mode and adjusting your exposure as the lighting conditions change.
5. Get a rain cover for your camera if it isn’t weather sealed
Snow on your camera can melt when conditions change, this can cause water damage for your camera. Be sure to invest in a rain cover that’s appropriate for your camera and lens combination if it is not weather sealed.
If you’re using a weather sealed body, make sure that you have the accessories needed to complete the sealing, this is often a hot shoe cover for the flash, or a filter for your lens. I shot with Fujifilm’s X-T2 and two WR (weather resistant) lenses, which gave me a moderately weather sealed package without the need for a rain cover even in heavy snowfall, though I had to make sure the hot shoe cover was present.
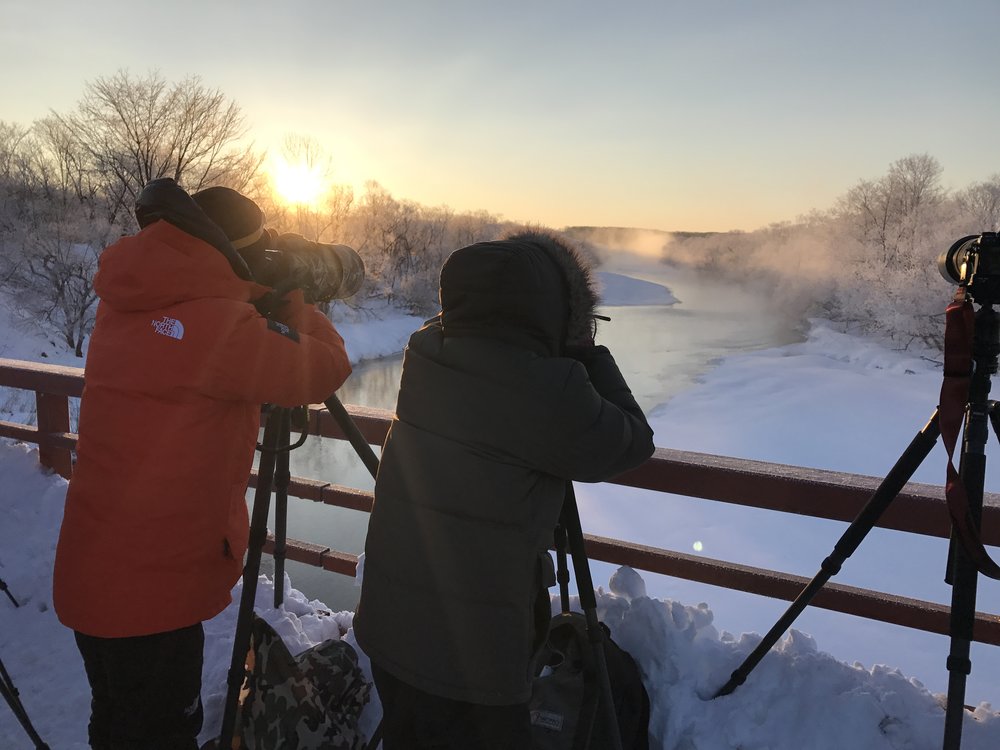
6. Watch the wind (chill)
If you don’t come from a cold country, you’d likely obsess about how cold the temperature is, overlooking the wind. Wind chill can bring down the effective temperature greatly, so pay attention to it if you are going on a long hike, especially up a hill or mountain.
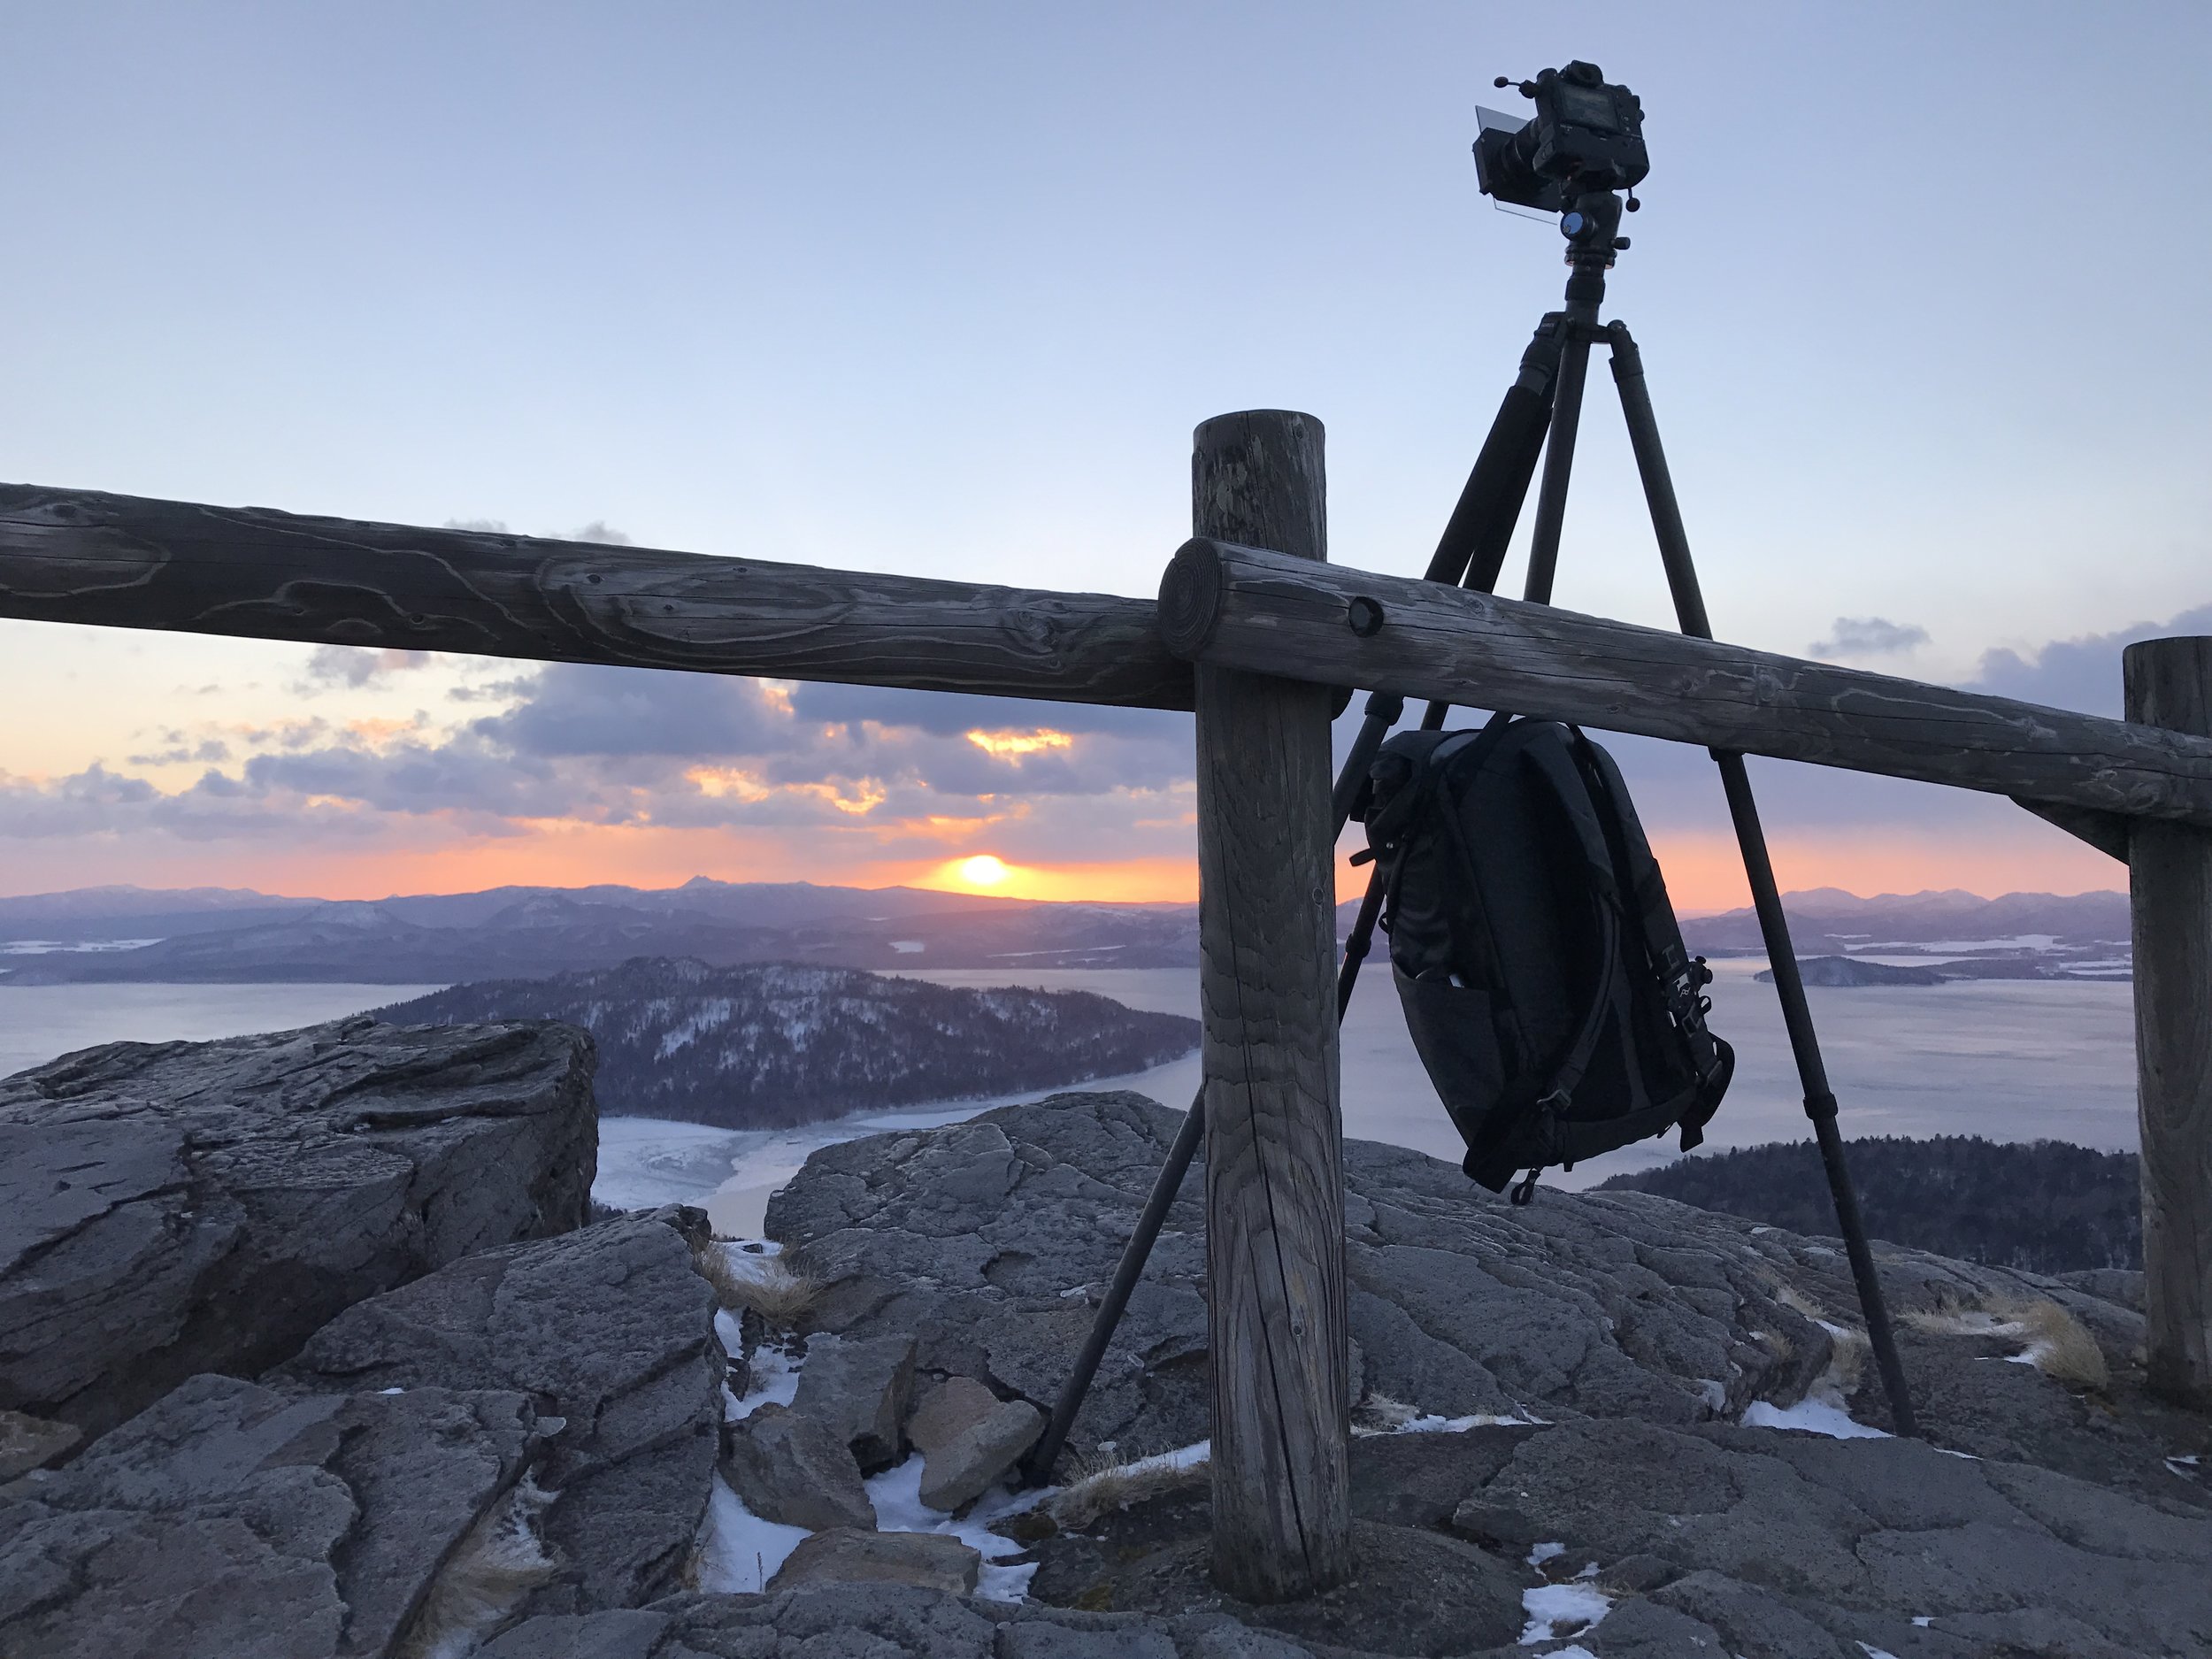
Wind can also pose threats to your gear, be sure to stabilise your tripod with a bag.

Take care of wind chill. I even had to stabilise my tripod with my backpack as the winds were above 50kph here.
People often underestimate how cold their face can get in wind chill, so invest in a good buff that can keep your face warm in strong winds. You may also consider a balaclava.
7. Your gear is colder than you think
In the extreme cold, even plastic and carbon fibre can freeze your hands. Take care when touching your gear, especially when it’s been left in the open for a while.
Make sure your tripod has foam on its legs for you to handle, and be sure to not grab metallic objects like your tripod head for extended periods of time.
8. Use a two-glove system
As mentioned before, getting great photographs often mean having to wait in a particular location for hours for conditions to be favourable, your hands and feet will be the first to get cold. Handling your gear in the cold can also cause your hands to hurt due to the heat being conducted away from your fingertips.
Invest in a good two-glove system so you can switch between dexterity and warmth. I use a thin pair of gloves as my inner layer, and a thick pair of mittens as my outer layer. Keep the mittens on when waiting for conditions to be favourable, they will allow you to shoot longer with the inner layer when the time comes.