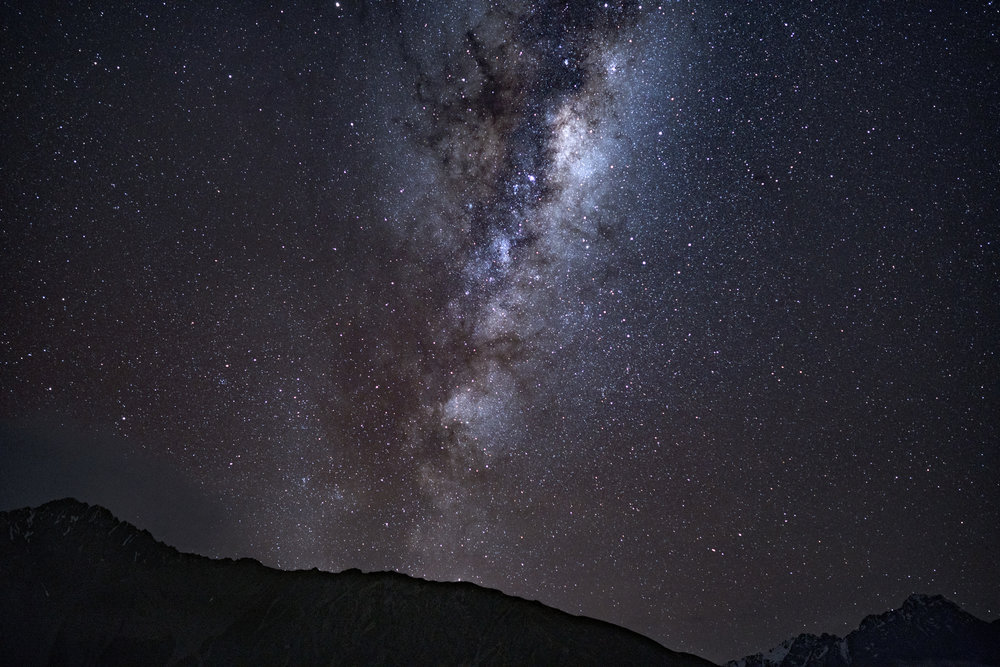
Sony A7RII, Zeiss Batis 25mm F2.0, 13 second exposure at ISO 1600
I can’t think of another genre of photography that drops jaws as quickly as astrophotography, and there’s no better subject than the Galactic Centre (Heck, even the name sounds awesome) of our Milky Way. Here’s a quick guide on how to get started with photographing the Milky Way, let me know in the comments if there’s a specific section you’d like me to expand on!
1. When and where to find the Milky Way
The Galactic Centre of the Milky Way is best visible during winter from the Southern Hemisphere and spring to summer from the northern hemisphere. You’ll also want to pick a night with no moonlight, that is, sometime during a New Moon.
Once you’ve picked a date, you want to get to a place where there is as little light pollution as possible. You’re not going to get photos of the Milky Way from the middle of Singapore or NYC! Use Dark Site Finder‘s Map to look for the nearest dark site.
Visit the site when there is light so you know how to navigate it in the dark. While there, I also use an app called Sky Guide on an iPhone or iPad to determine exactly the time and direction from where it will rise.
Before you set off, check the weather to make sure that you get a clear sky, you don’t want clouds or raindrops interfering!
2. Your equipment does matter…
The old adage “It’s the photographer that matters, not the camera.” does not apply that much here. Unlike other genres of photography, the type of equipment you use does affect the quality of image you get.
When it comes to camera bodies, you’d want to be using a Full Frame or at least an APS-C sized sensor. This ensures that every single photon has as large a surface area as possible to be captured. You can see the Milky Way from a pocket sized camera, but it’s not going to look that good once you print it or throw it on a computer.
For your lens, you’d want the fastest one you have. Most photographers wouldn’t recommend nothing slower than a F2.8 lens, though I’ve found that these days the quality of sensors are so good that you can get away with an F4.0 lens. Generally speaking, you’d also want a wide angle lens as this affects how slow your shutter speed can be (more on the 500 rule in the exposure section below).
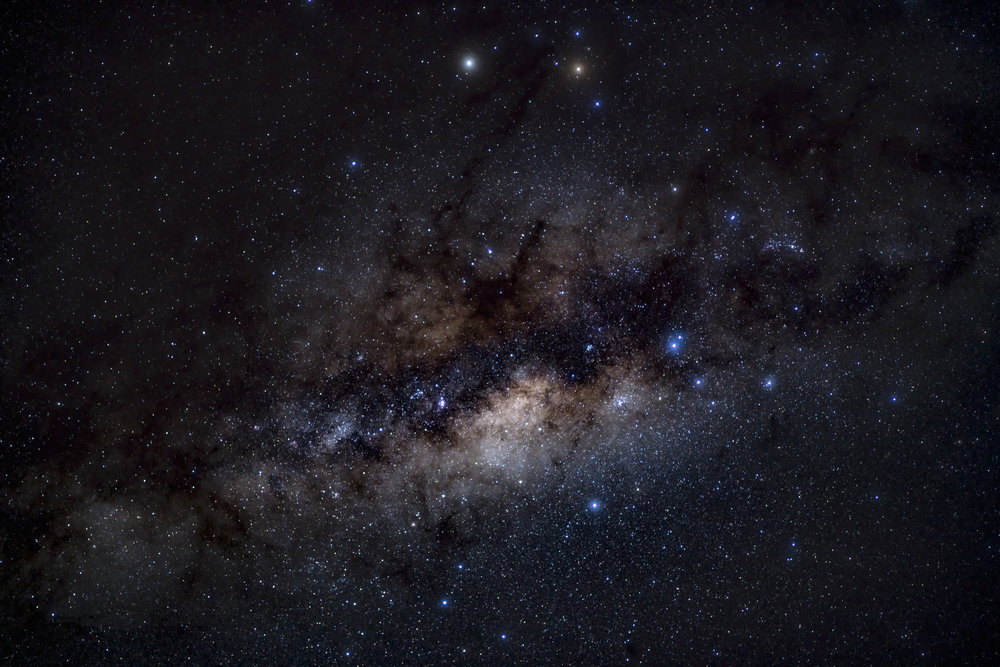
Using a 35mm F1.4 lens helped minimise noise as I could use a lower ISO. You can also see Venus and Jupiter in this shot.
Last but not least, you want your camera to be as stable as possible when taking the shot. This means a stable tripod and a cable release. For tripods, the thicker the feet and the lesser the number of sections, the more stable it will be. Cable releases don’t vary between much, though you’d be at an advantage if you have one with a built in intervalometer.
When people see my photos of the Milky Way, the first question they’d usually ask is “What camera did you use?”. Choosing equipment for astrophotography can be quite daunting, so I’ve included a section at the bottom on what I would recommend.
3. Taking the exposure
You’ve done your research, tuned your equipment and waited patiently for a clear night’s sky. Time to make sure that every shot counts. I’ve posted this section in a bulleted format so you can take it as a checklist.
data-animation-override>
“Shutter speed = (500 / full frame focal length equivalent)”
- Set your camera to capture RAW, this will give you more freedom in post processing.
- Dial in the widest aperture setting you have.
- Set your camera to Manual Focus, and set it to focus to infinity. This is the trickiest part in the field. I often manual focus on a light source (lamp post, car headlight) at least 20 metres away.
- Use the 500 rule to determine the slowest shutter speed you can get away with. This ensures that your stars do not form any trails. Simply put, using a 35mm lens means that you can get away with a 14.28 second shutter speed or faster.
- Frame and take the shot on your tripod, with a cable release.
- Check the focus on your images from time to time using the LCD at maximum zoom.
- If you have an intervalometer, set it to capture at regular intervals and relax.
Recommended Equipment
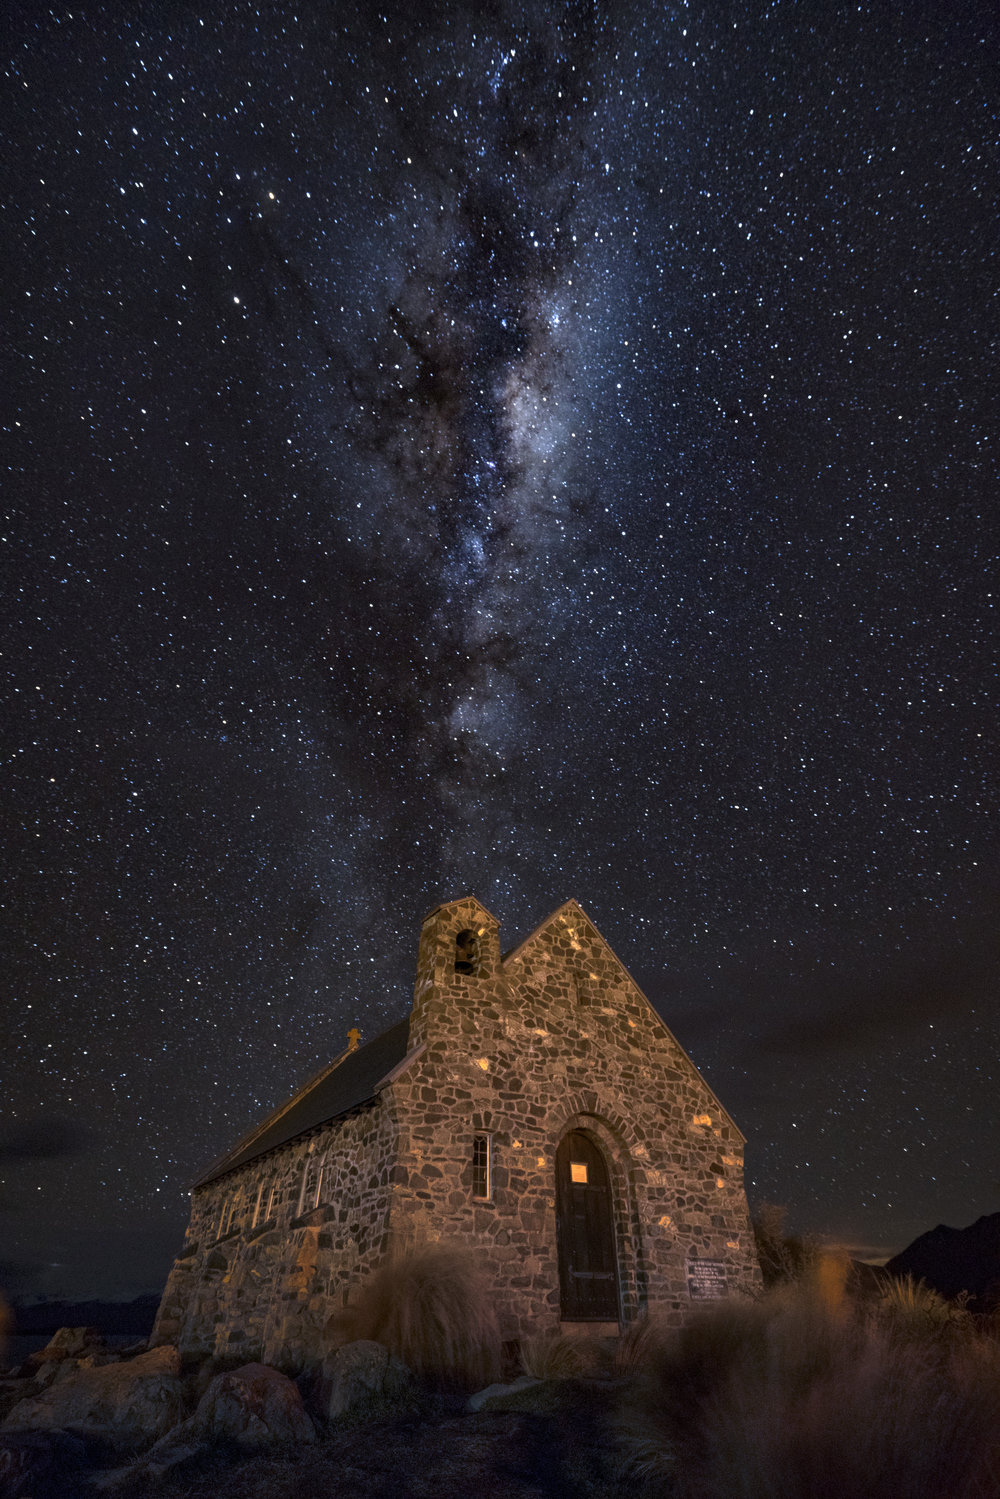
Who says you can’t get great photos with an F4 lens?
What I used for the photos in this entry:
- Sony A7R II (Amazon US, Amazon UK)
- Sony FE 16-35mm F4.0 (Amazon US, Amazon UK)
- Sony FE 35mm F1.4 (Amazon US, Amazon UK)
- Zeiss Batis 25mm F2.0 (Amazon US, Amazon UK)
What I recommend for beginners:
- Versatile Camera: Fujifilm X-T20 (Amazon US, Amazon UK) with XF16mm F1.4 (Amazon US, Amazon UK)
- Cheap Full Frame (Canon): Canon EOS 6D (Amazon US, Amazon UK) with Rokinon/Samyang 14mm F2.8 (Amazon US, Amazon UK)
- Cheap Full Frame (Nikon): Nikon D610 (Amazon US, Amazon UK) with Rokinon/Samyang 14mm F2.8 (Amazon US, Amazon UK)
- Light Gathering Monster: Sony A7S (Amazon US, Amazon UK) with FE 16-35mm F4.0 (Amazon US, Amazon UK)
Next Up: Post Processing
Getting the photos on your camera is only half the battle, post processing skill is what will get your photos ahead of the pack. I’m splitting the post processing section to part 2 as it is as complex, if not more complex than taking the photo itself. Please subscribe to stay tuned!